SOP: Managing Exhibitor Booth Sales, Registration, and Post-Sale Fulfillment in ExpoGenie
Objective
This SOP outlines how to use ExpoGenie to manage interactive floor plans, sell booths and sponsorships, process exhibitor registrations, and support post-signup fulfillment. It also covers how exhibitor data and booth staff registrations can sync to Cvent when integrations are enabled.
Key Steps
1. Configure and manage the interactive floor plan 0:10
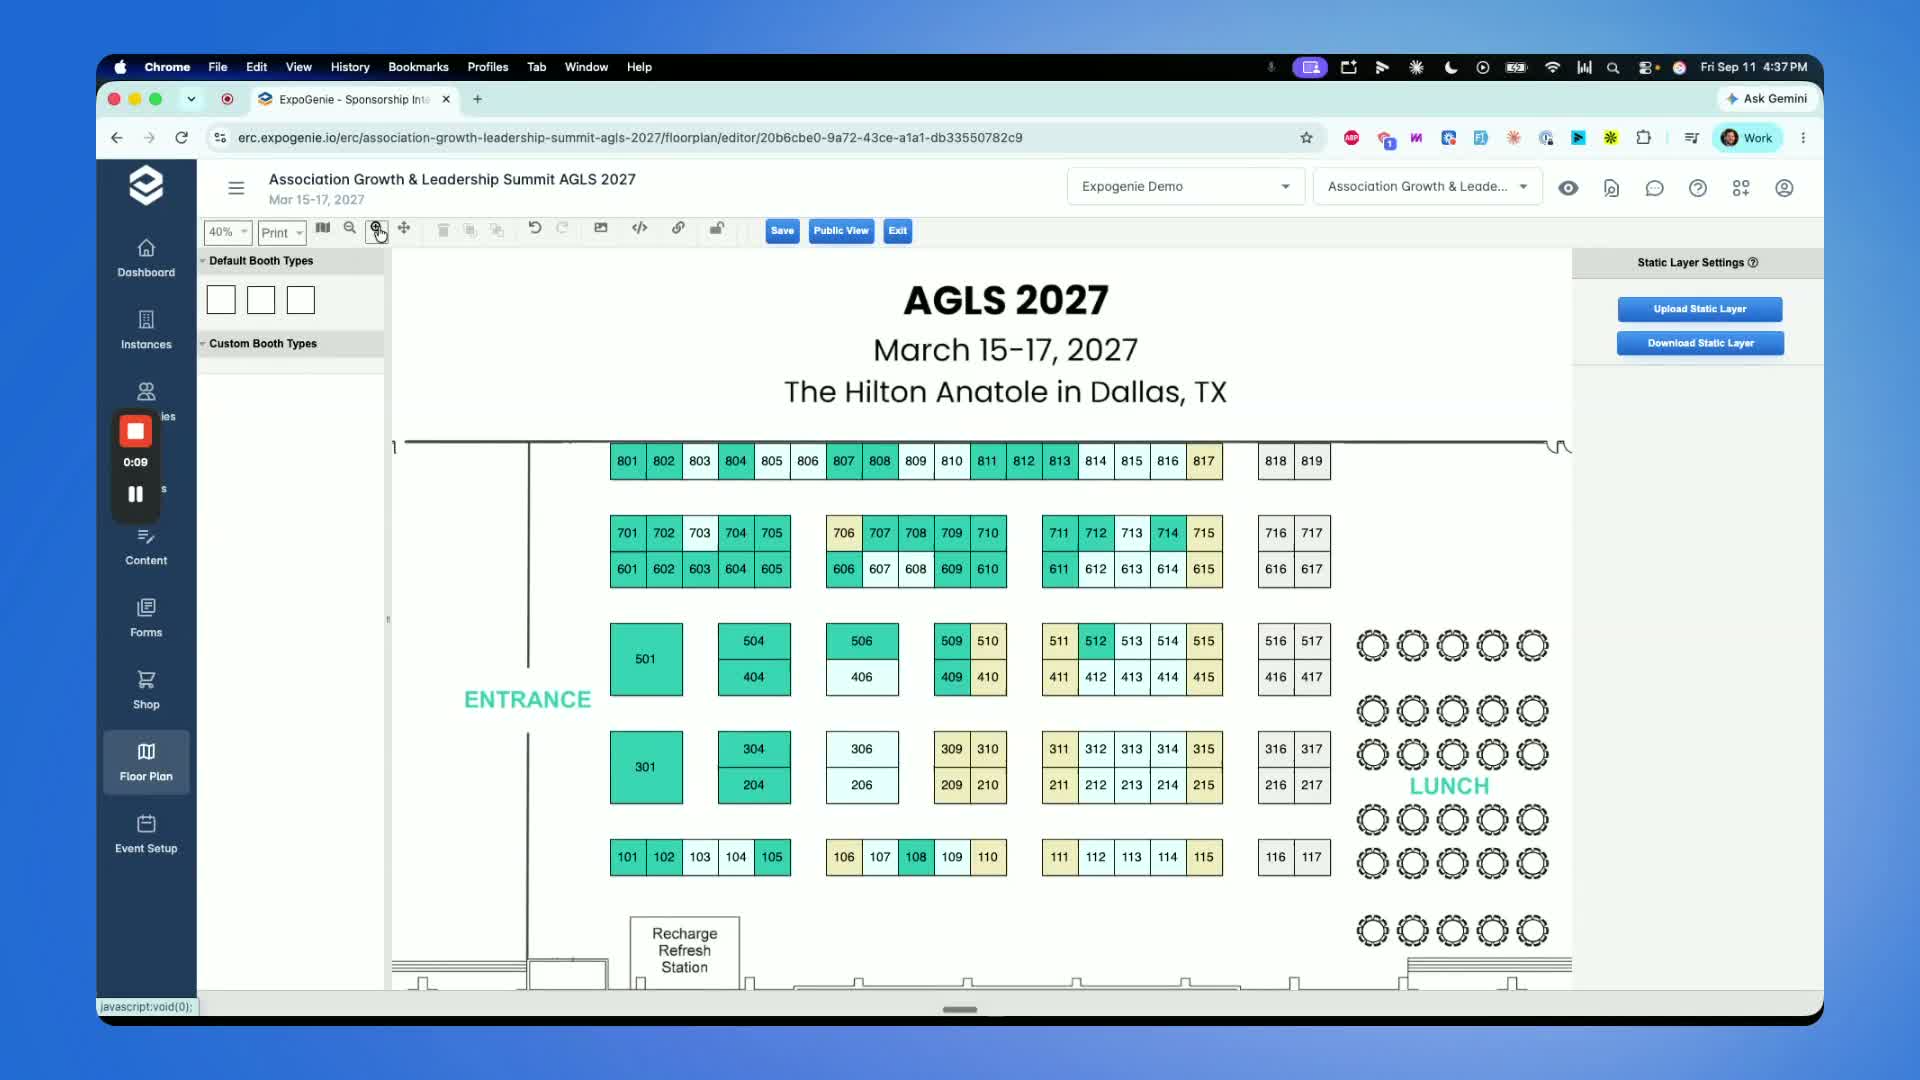
Open the interactive floor plan in ExpoGenie.
Add, remove, resize, or move booths as needed.
Assign an exhibitor to a booth by selecting the booth and clicking Apply.
Update booth sizes when required, such as upgrading a booth to 10x20.
Create aisles or reconfigure booth placement to match the event layout.
Set booths for sale and assign unique prices to individual booths based on value or location.
2. Set up exhibitor registration and sponsorship options 0:53
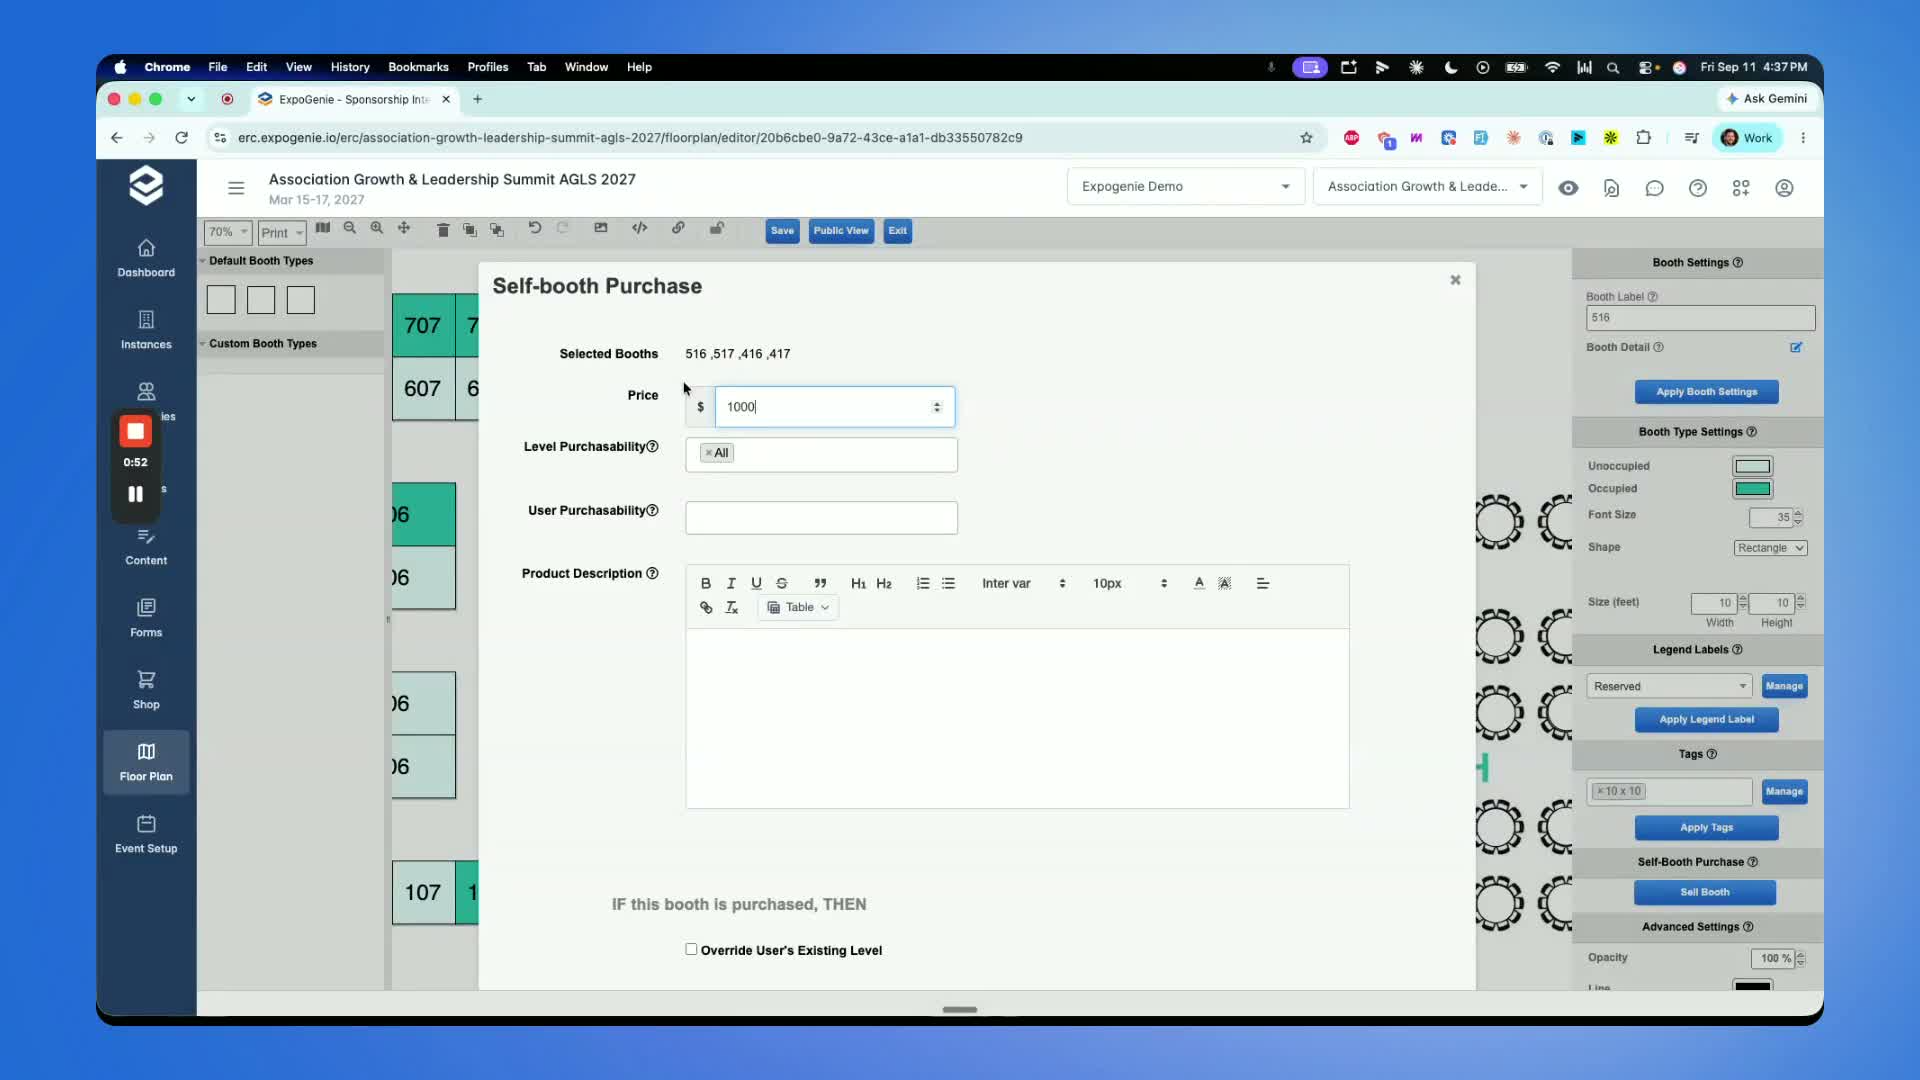
Navigate to the exhibitor registration area to sell booths and sponsorships online.
Configure the registration flow to match the event’s sales process.
Decide whether to offer sponsorship packages, booth sales, or both.
Use the registration form to guide exhibitors through the purchase process.
3. Present sponsorship packages during registration 1:31
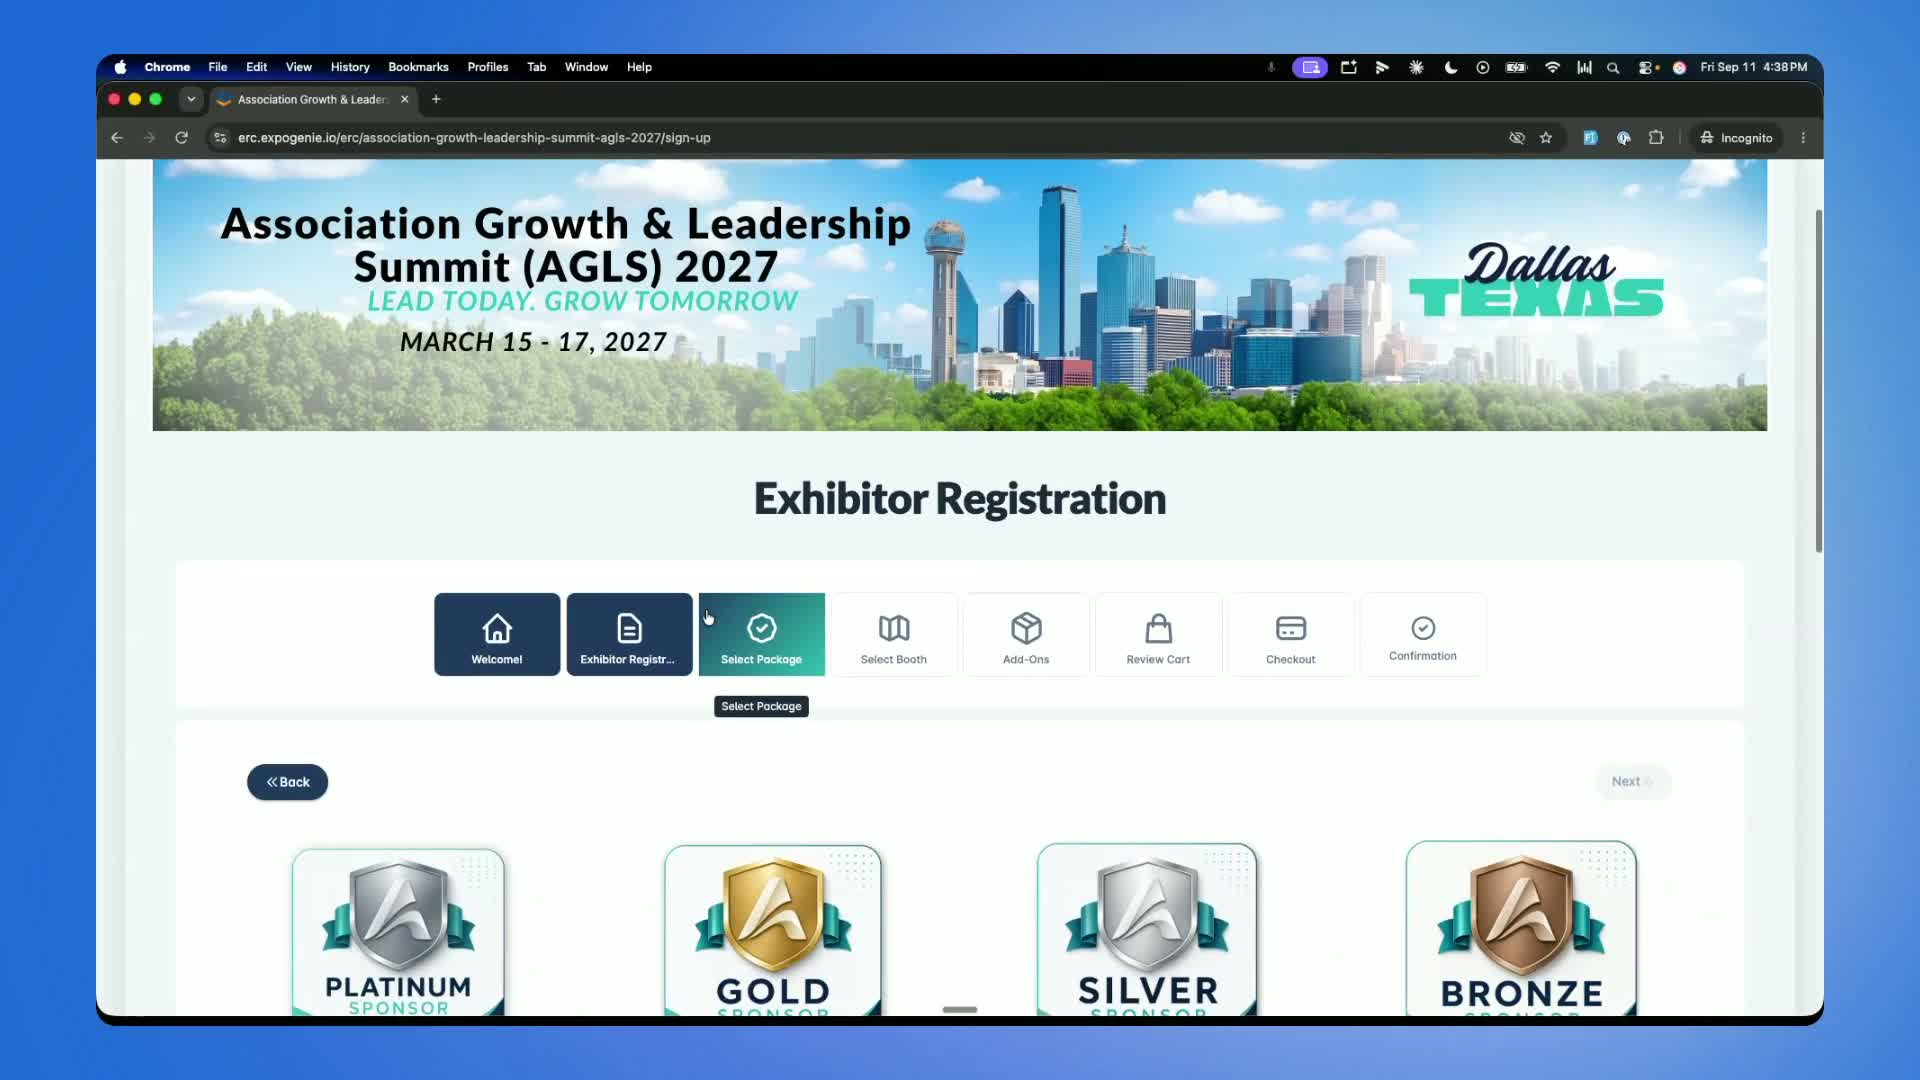
Display available sponsorship packages on the first registration screen.
Include package details such as:
What is included
Fulfillment items
Any booth access included with the package
Select the appropriate package during the demo or live registration flow.
Continue to the next step after the sponsor package is chosen.
4. Allow booth selection based on package or paid inventory 2:08
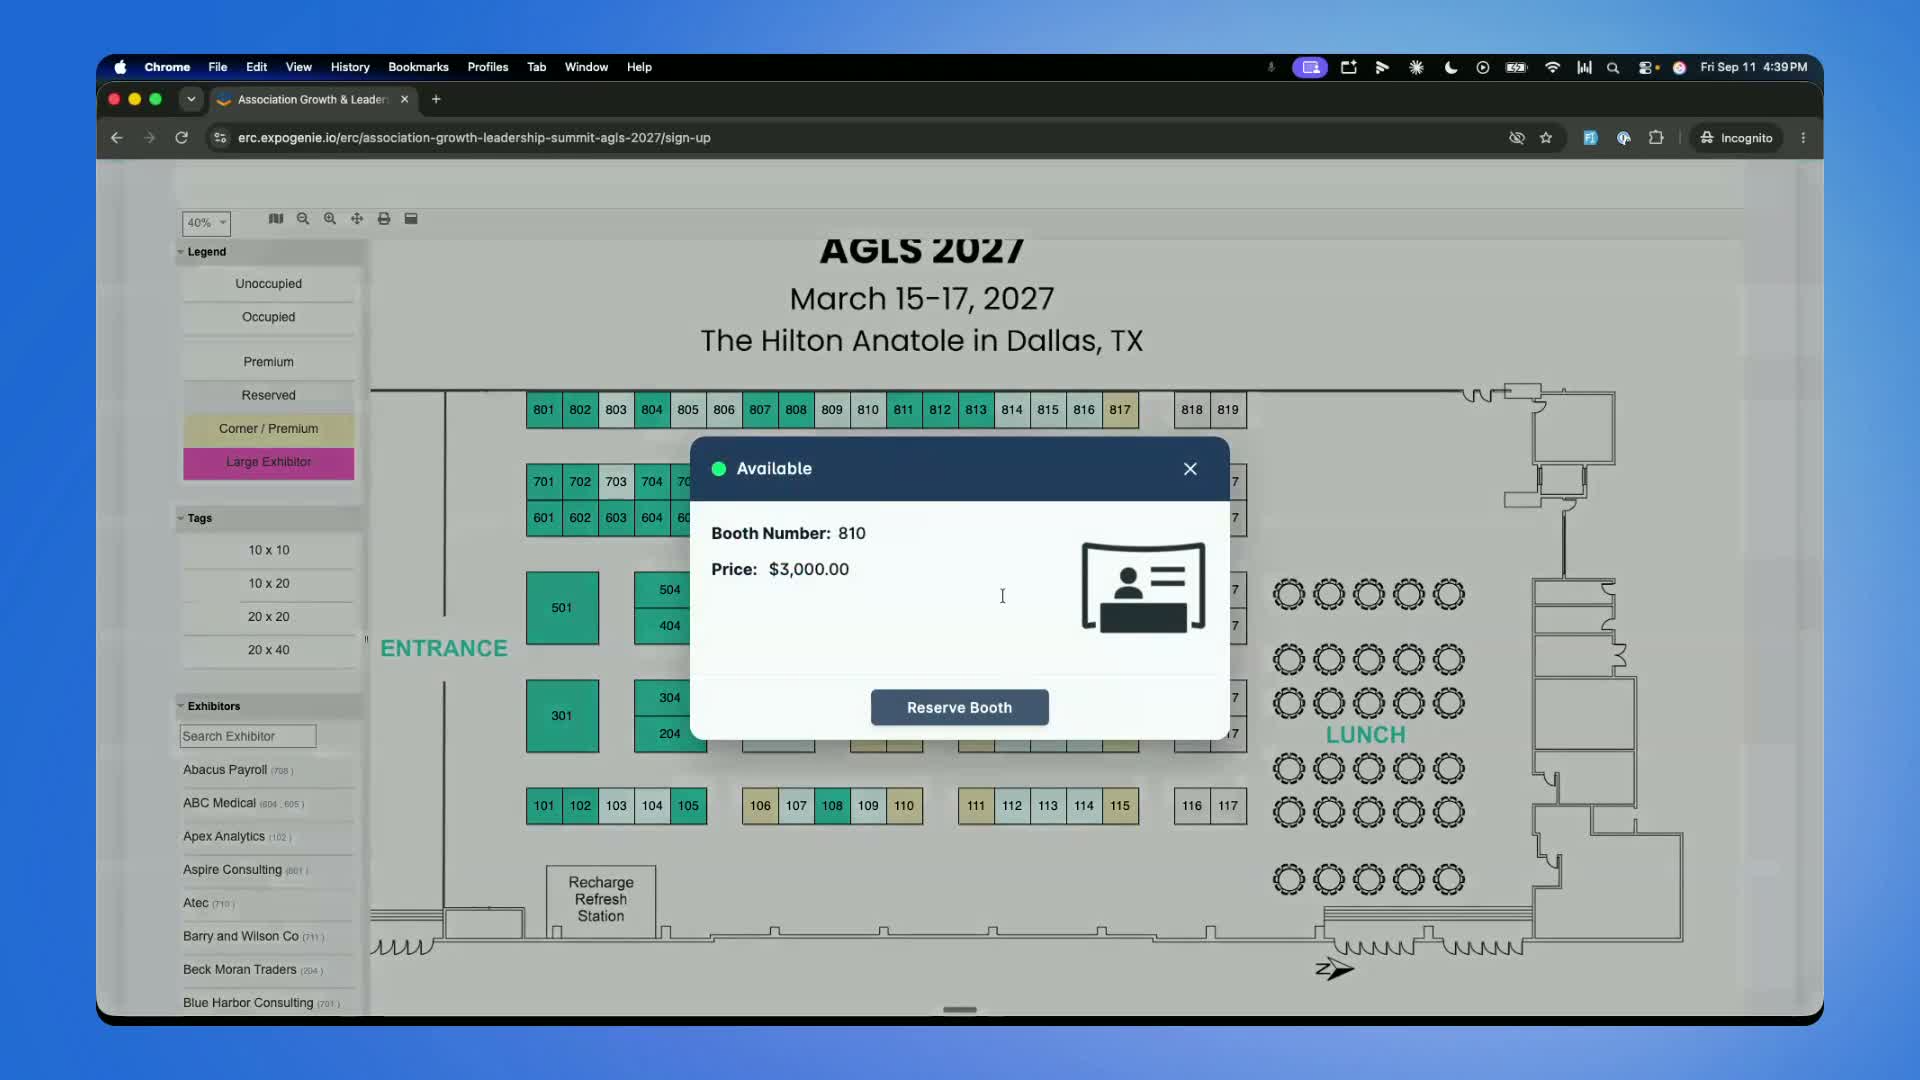
If a sponsorship package includes a booth, allow the exhibitor to select the included booth size.
Show priced booth options separately so exhibitors can choose from available inventory.
Use premium pricing for higher-value booth locations when applicable.
Confirm the booth selection before moving forward.
Ensure the floor plan is built from the contractor’s PDF layout and converted into the interactive version for easy selection.
5. Offer add-ons and additional products 2:39
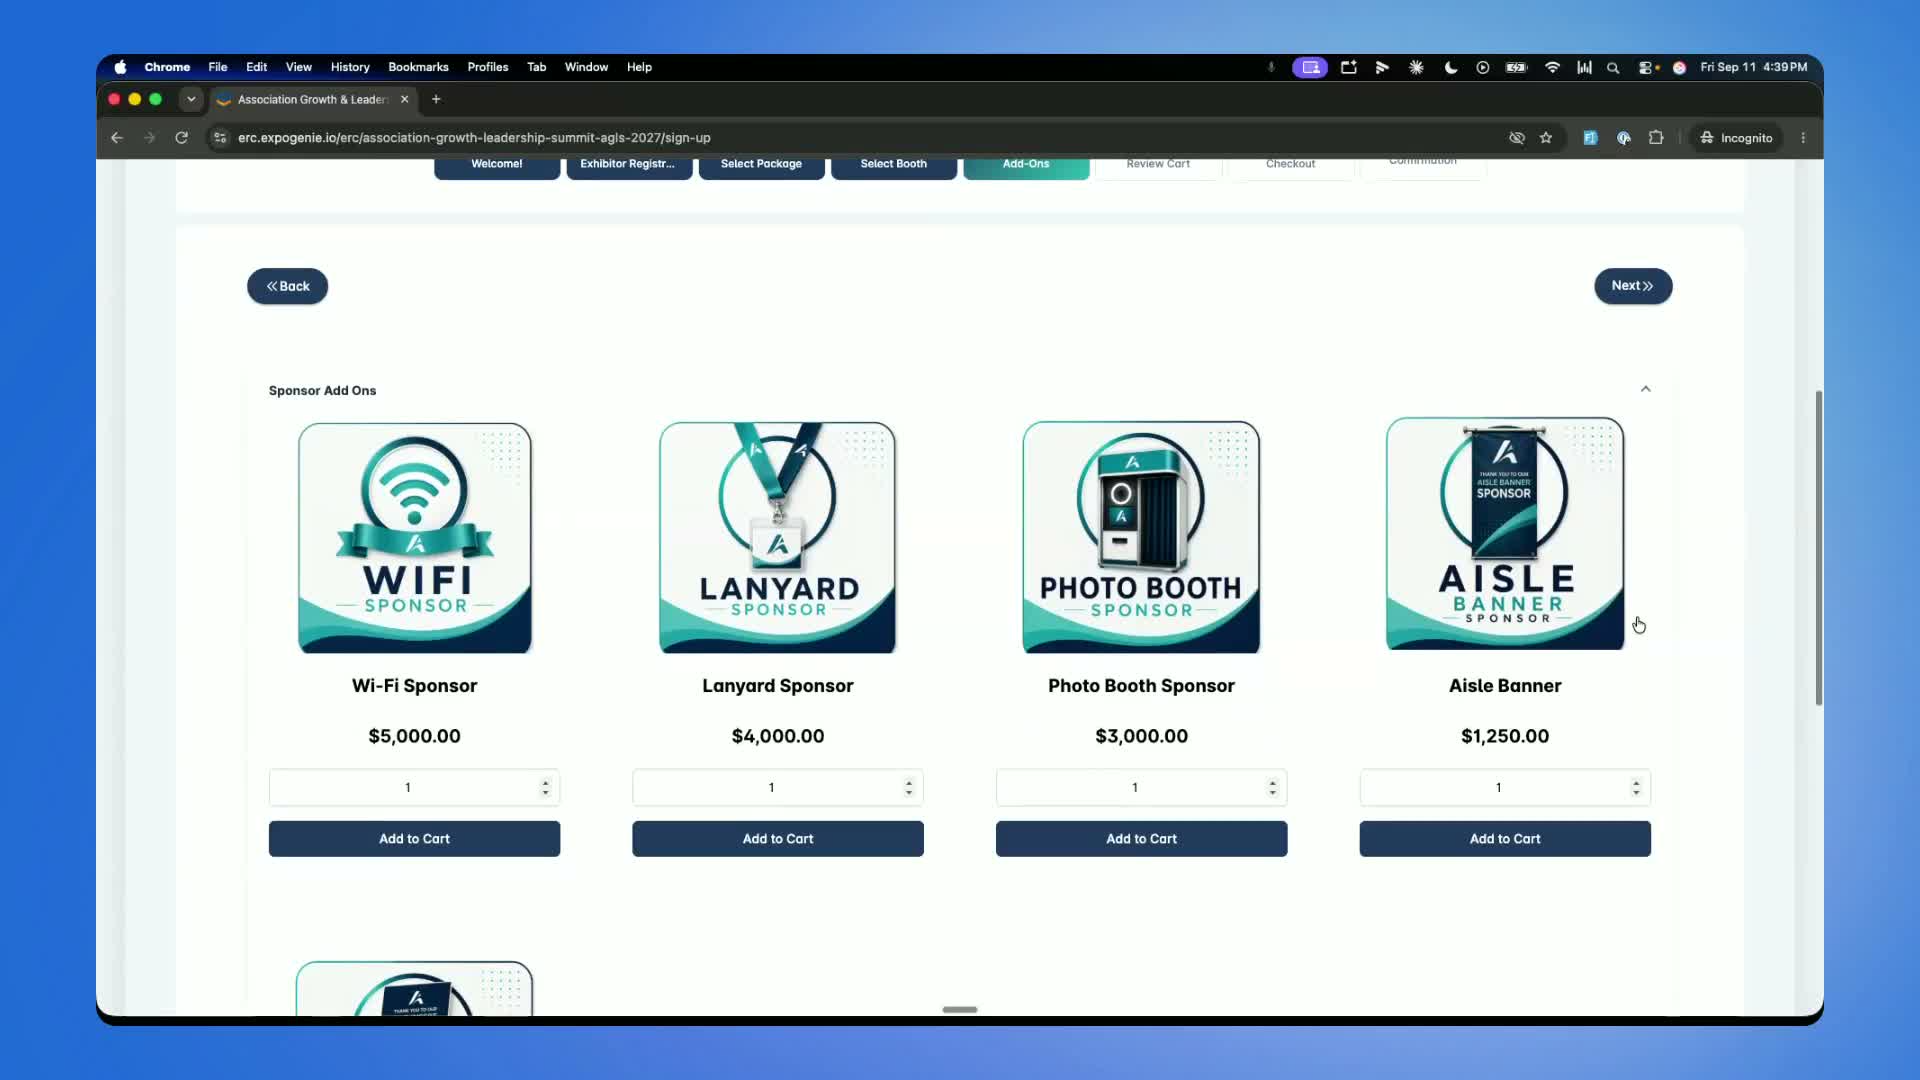
Present optional add-ons after booth selection.
Include items such as:
Lead retrieval
Booth furnishings
Additional sponsorship items
Allow exhibitors to purchase extra items during the same registration flow.
Keep add-ons configurable so they can be tailored to each event.
6. Apply discounts and complete payment 2:48
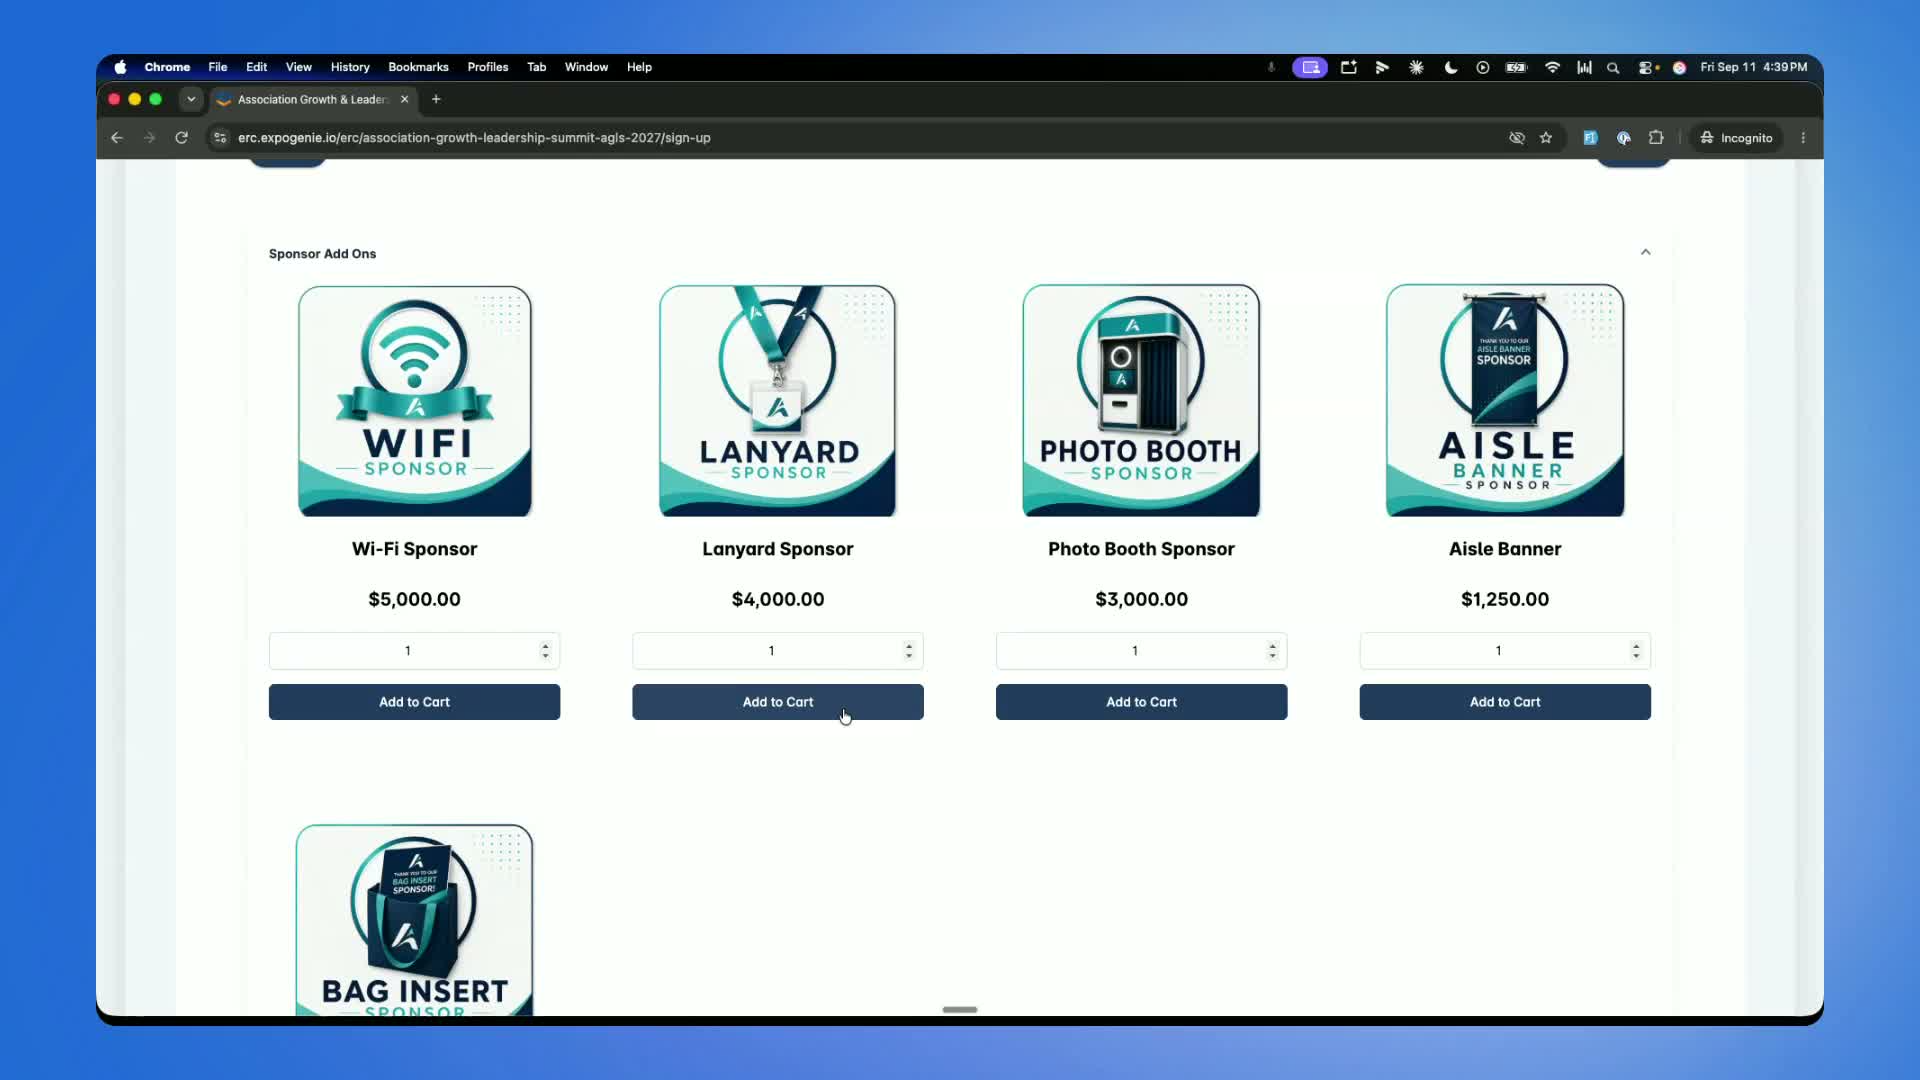
Apply advanced discount rules and permissions when needed.
Accept standard discount codes if they are part of the event setup.
Process payments through supported gateways such as Stripe and Authorize.net.
Choose the payment rule that fits the event:
Full payment required
Partial payment allowed
Pay now
Pay later
Complete checkout once the payment method and terms are confirmed.
7. Generate invoices and send confirmation emails 3:17
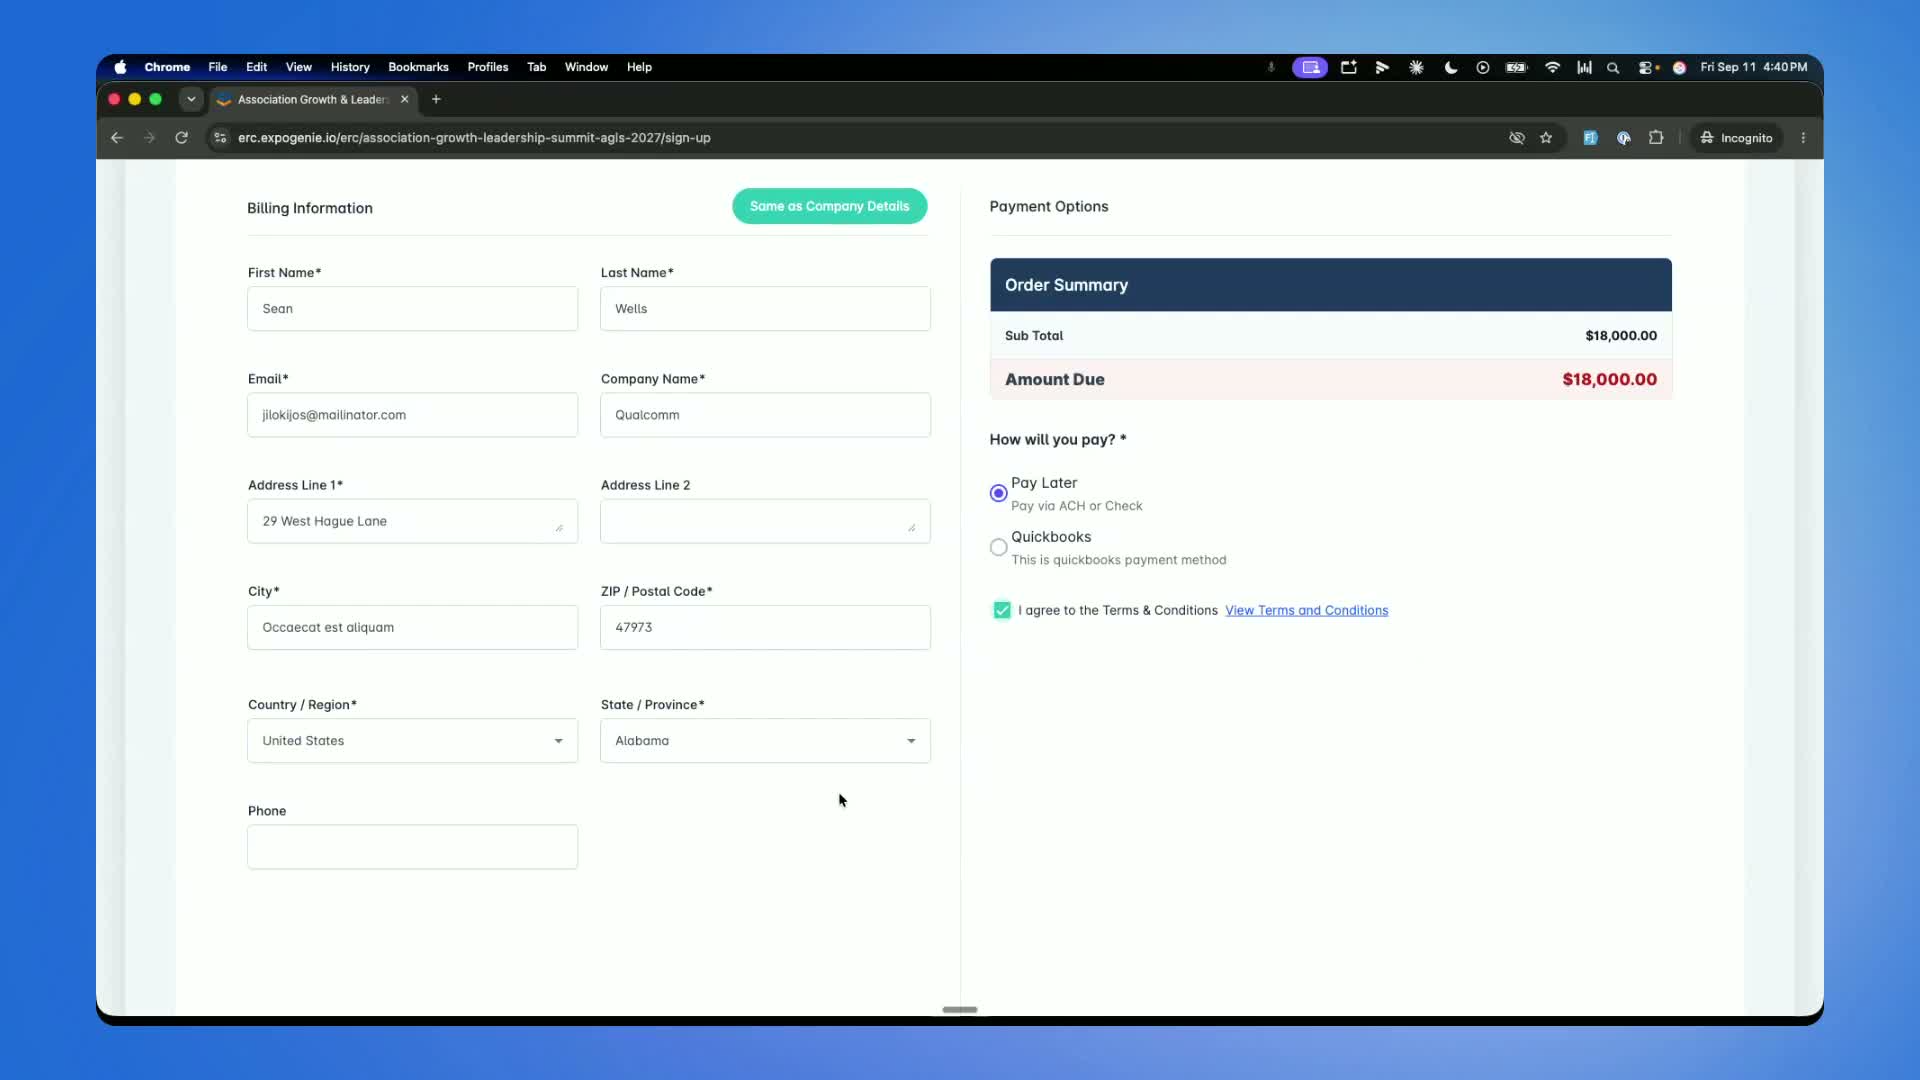
After checkout, ensure ExpoGenie creates an invoice for every order.
Confirm that the exhibitor receives the invoice by email.
Verify that the exhibitor also receives a welcome email inviting them to the exhibitor portal.
Use these automated messages to begin the post-sale fulfillment process.
8. Access the exhibitor portal after signup 3:51
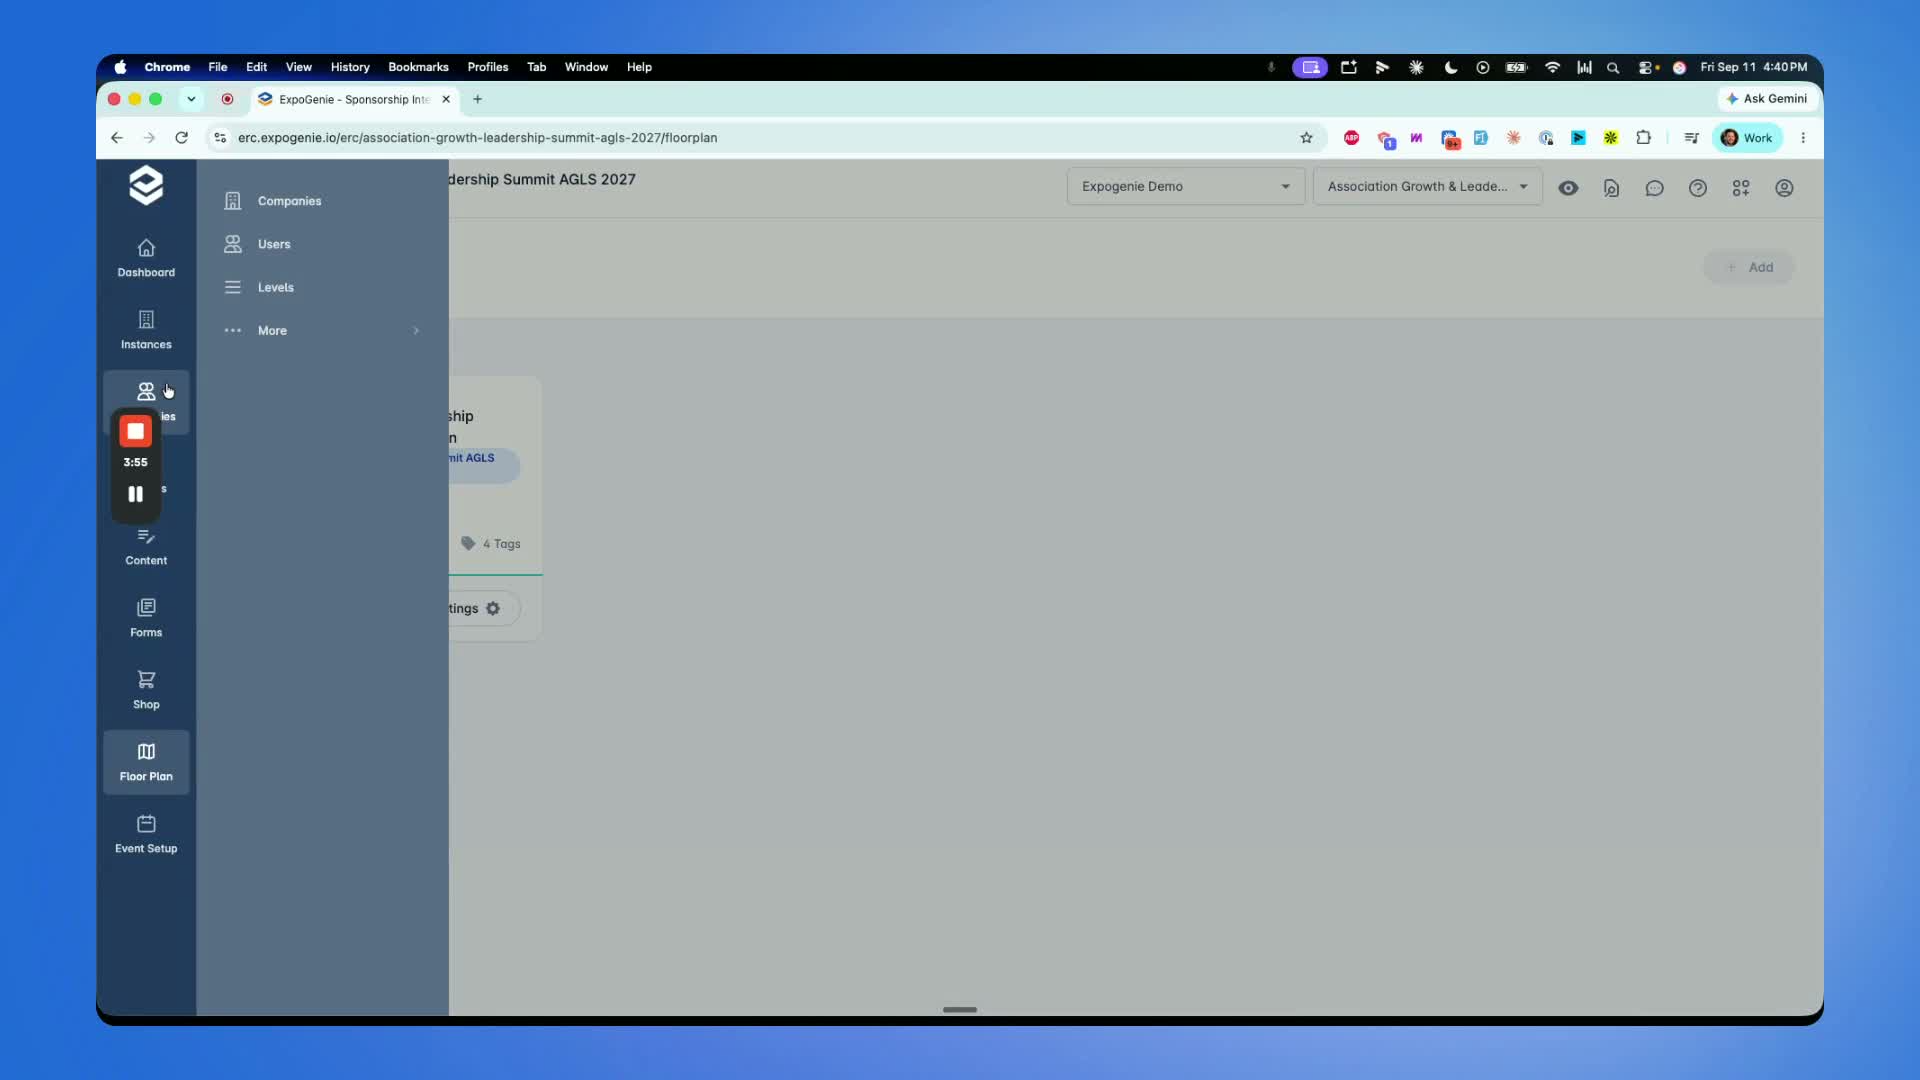
Go to the user list and locate the newly registered exhibitor.
Use Impersonate / Log in as to enter the exhibitor’s portal for review or support.
Confirm the exhibitor appears at the top of the list after signup.
Use the portal as the exhibitor’s online hub for tasks, questions, and balance management.
9. Manage exhibitor fulfillment tasks in the portal 4:15
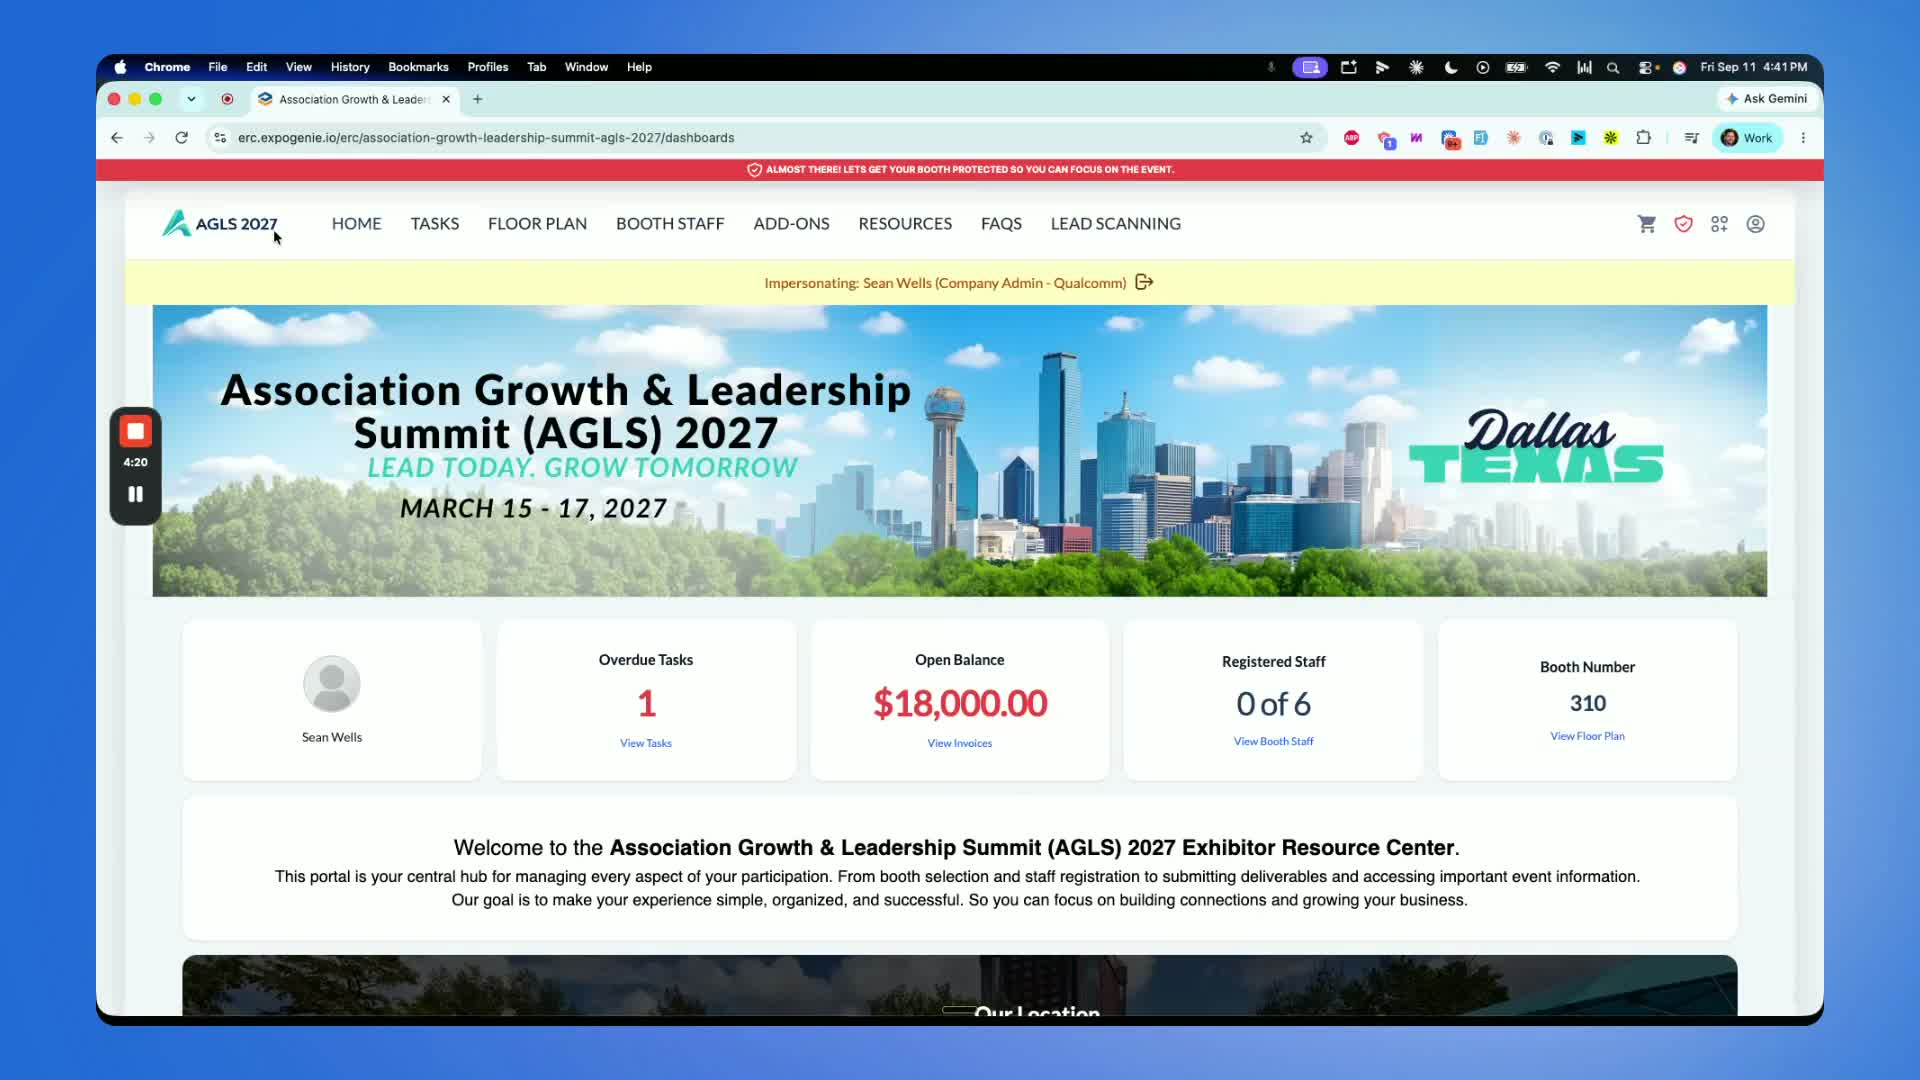
Direct exhibitors to complete required deliverables in the portal.
Collect items such as:
Insurance certificates
Company logos
Company descriptions
Booth graphics
Email banners
Allow organizers to pull reports and bulk download submitted files.
Use the portal as the central location for all exhibitor fulfillment materials.
10. Auto-assign booths and manage booth staff registrations 4:42
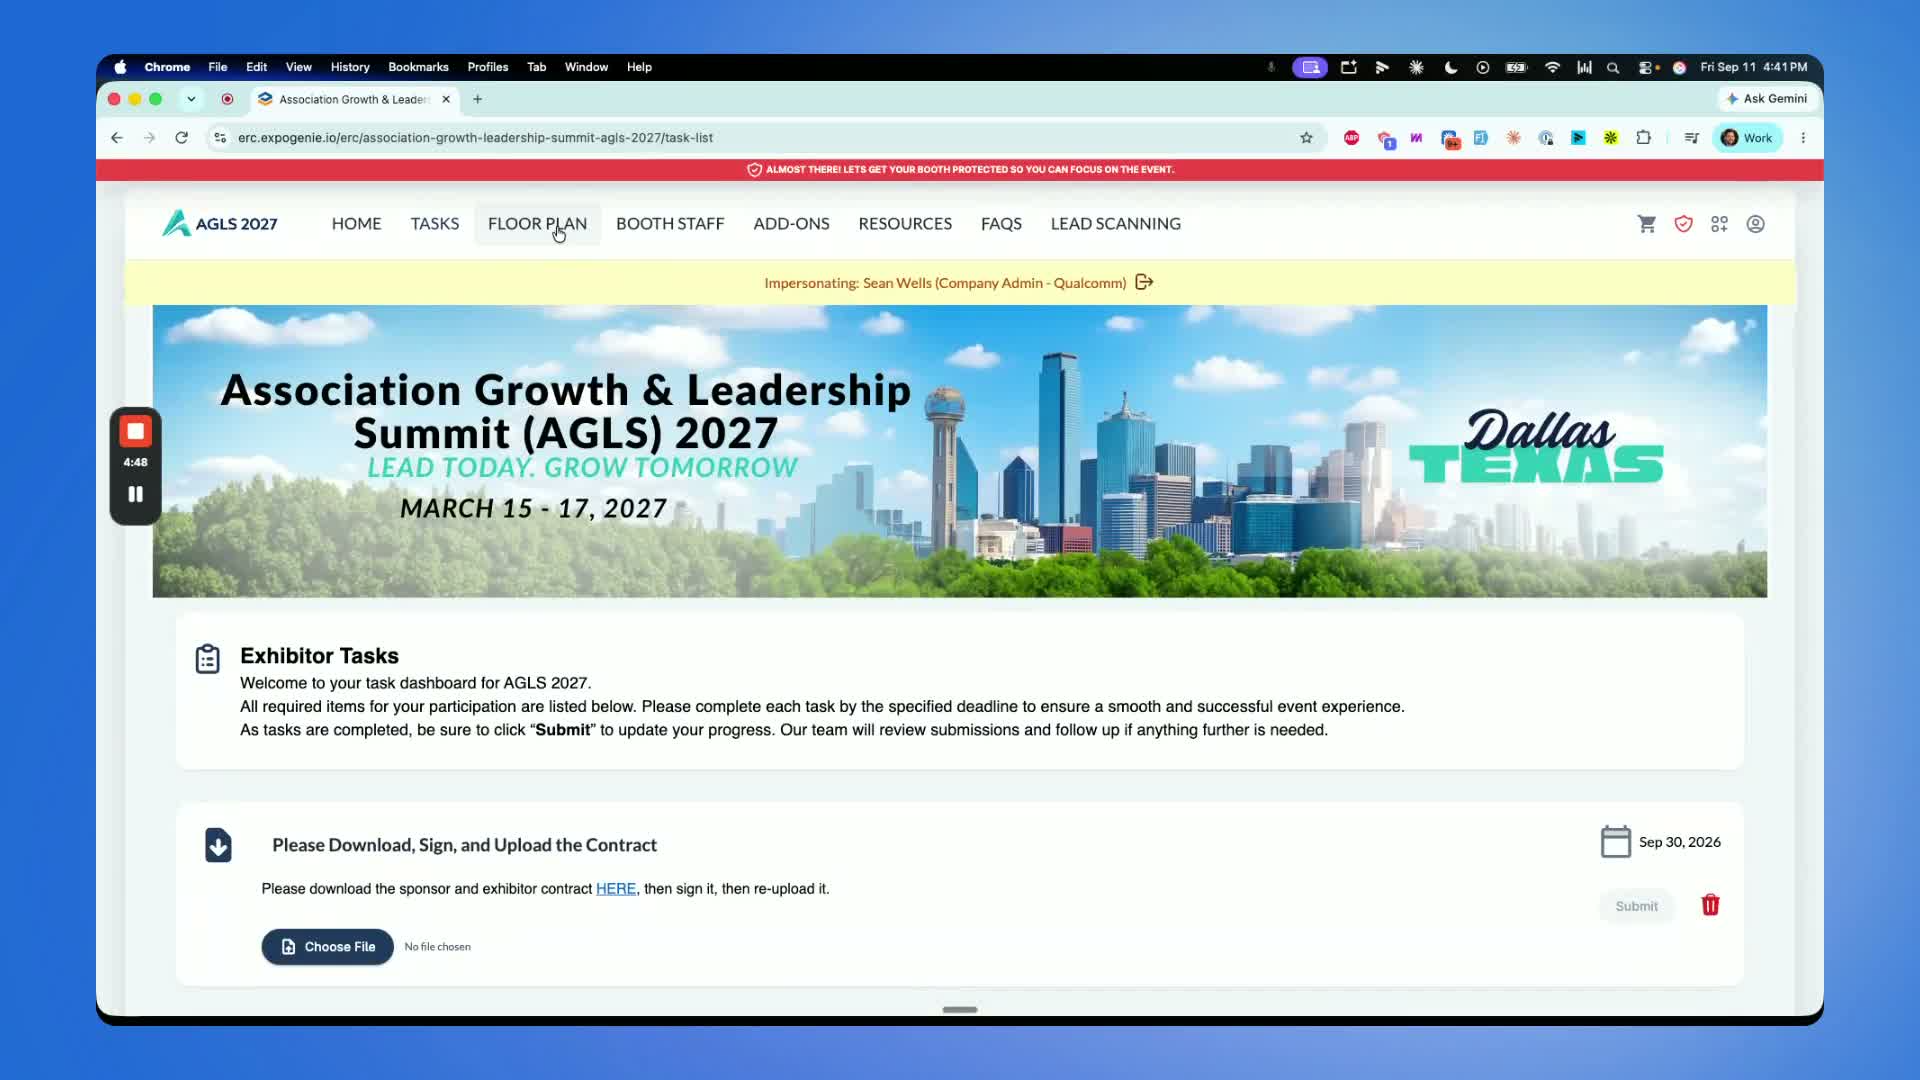
Confirm the exhibitor is automatically assigned to the purchased booth.
Verify the booth assignment appears correctly in the floor plan.
Generate booth staff passes based on the sponsorship package or booth purchase.
Allow exhibitors to complete booth staff registrations in ExpoGenie.
If integrated with Cvent, send booth staff registrations to Cvent as attendee records.
11. Support repeat purchases and content hosting 5:25
Allow exhibitors to return to the shop and make additional purchases after signup.
Keep add-ons available for second or third purchases as needed.
Host documents, PDFs, and collateral materials inside ExpoGenie instead of sending them by email.
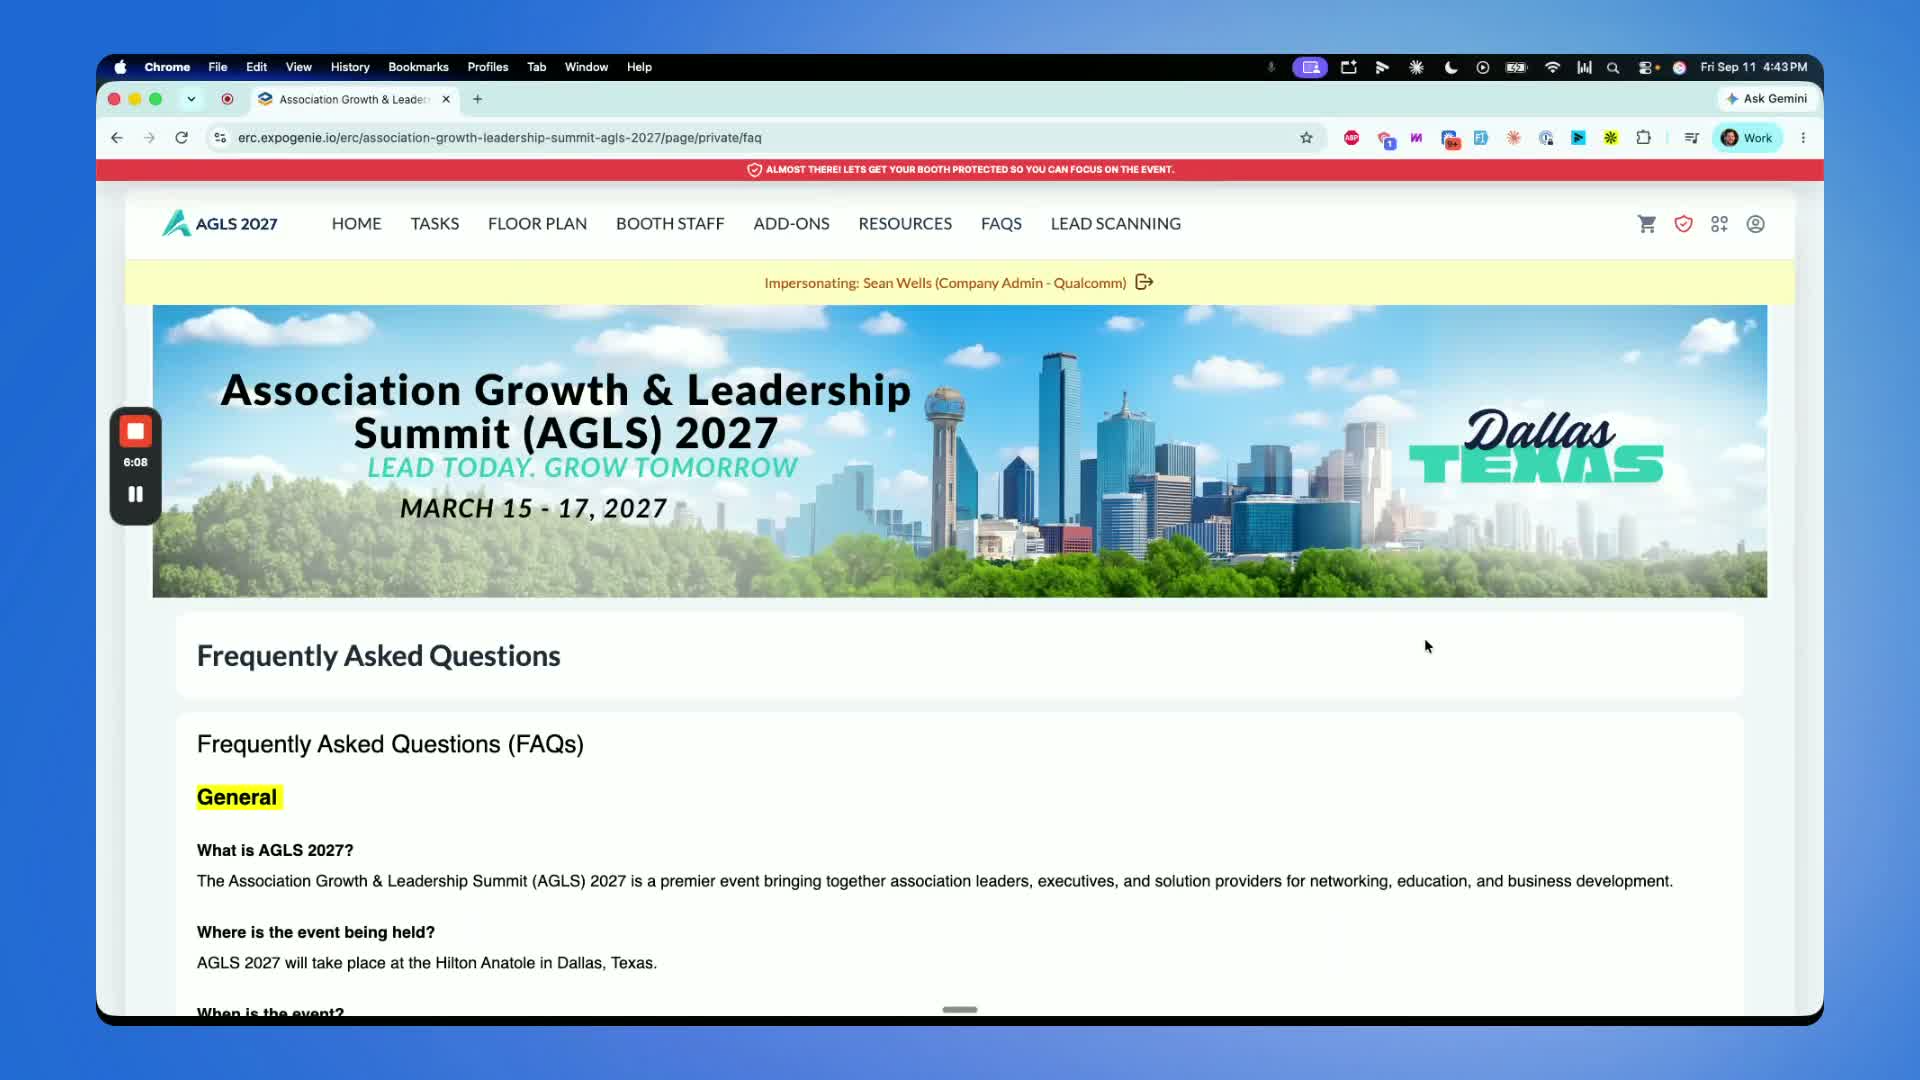
Provide additional resources such as lead scanning, FAQ pages, and custom webpages within the platform.
12. Sync exhibitor and attendee data with Cvent 5:52
When an exhibitor registers, create the exhibitor record in Cvent’s exhibitor portal.
Push uploaded files such as logos and descriptions from ExpoGenie to Cvent to update the exhibitor profile.
Use the synced data to populate the attendee mobile app or attendee hub.
Create attendee records in Cvent when booth staff registrations are completed in ExpoGenie.
Cautionary Notes
Ensure the floor plan is accurate before opening booth sales to exhibitors.
Confirm pricing, booth sizes, and package inclusions are correct before publishing registration options.
Verify payment rules carefully, especially when allowing partial payment or pay-later options.
Check that invoice and welcome email automation is enabled so exhibitors receive immediate confirmation.
If using Cvent integration, validate field mapping and sync behavior before going live.
Make sure booth assignments and staff pass counts match the purchased package to avoid fulfillment errors.
Tips for Efficiency
Build the floor plan from the contractor’s PDF early so booth inventory is ready for sales.
Use package-based booth assignment to reduce manual work after registration.
Standardize add-ons and sponsorship items to simplify setup across events.
Keep exhibitor documents and FAQs inside ExpoGenie to reduce email back-and-forth.
Use bulk download and reporting tools to speed up organizer fulfillment tasks.
Test the full registration flow with a sample exhibitor before launching publicly.
Link to Loom
Was this article helpful?
That’s Great!
Thank you for your feedback
Sorry! We couldn't be helpful
Thank you for your feedback
Feedback sent
We appreciate your effort and will try to fix the article